R-3.0 (Also Provides a Radiant Barrier Benefit in Warmer Climates)
Note: Installation instructions and illustrated drawings are recommendations only, while proper local construction methods are the responsibility of the installer.
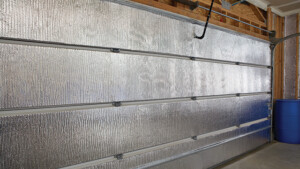
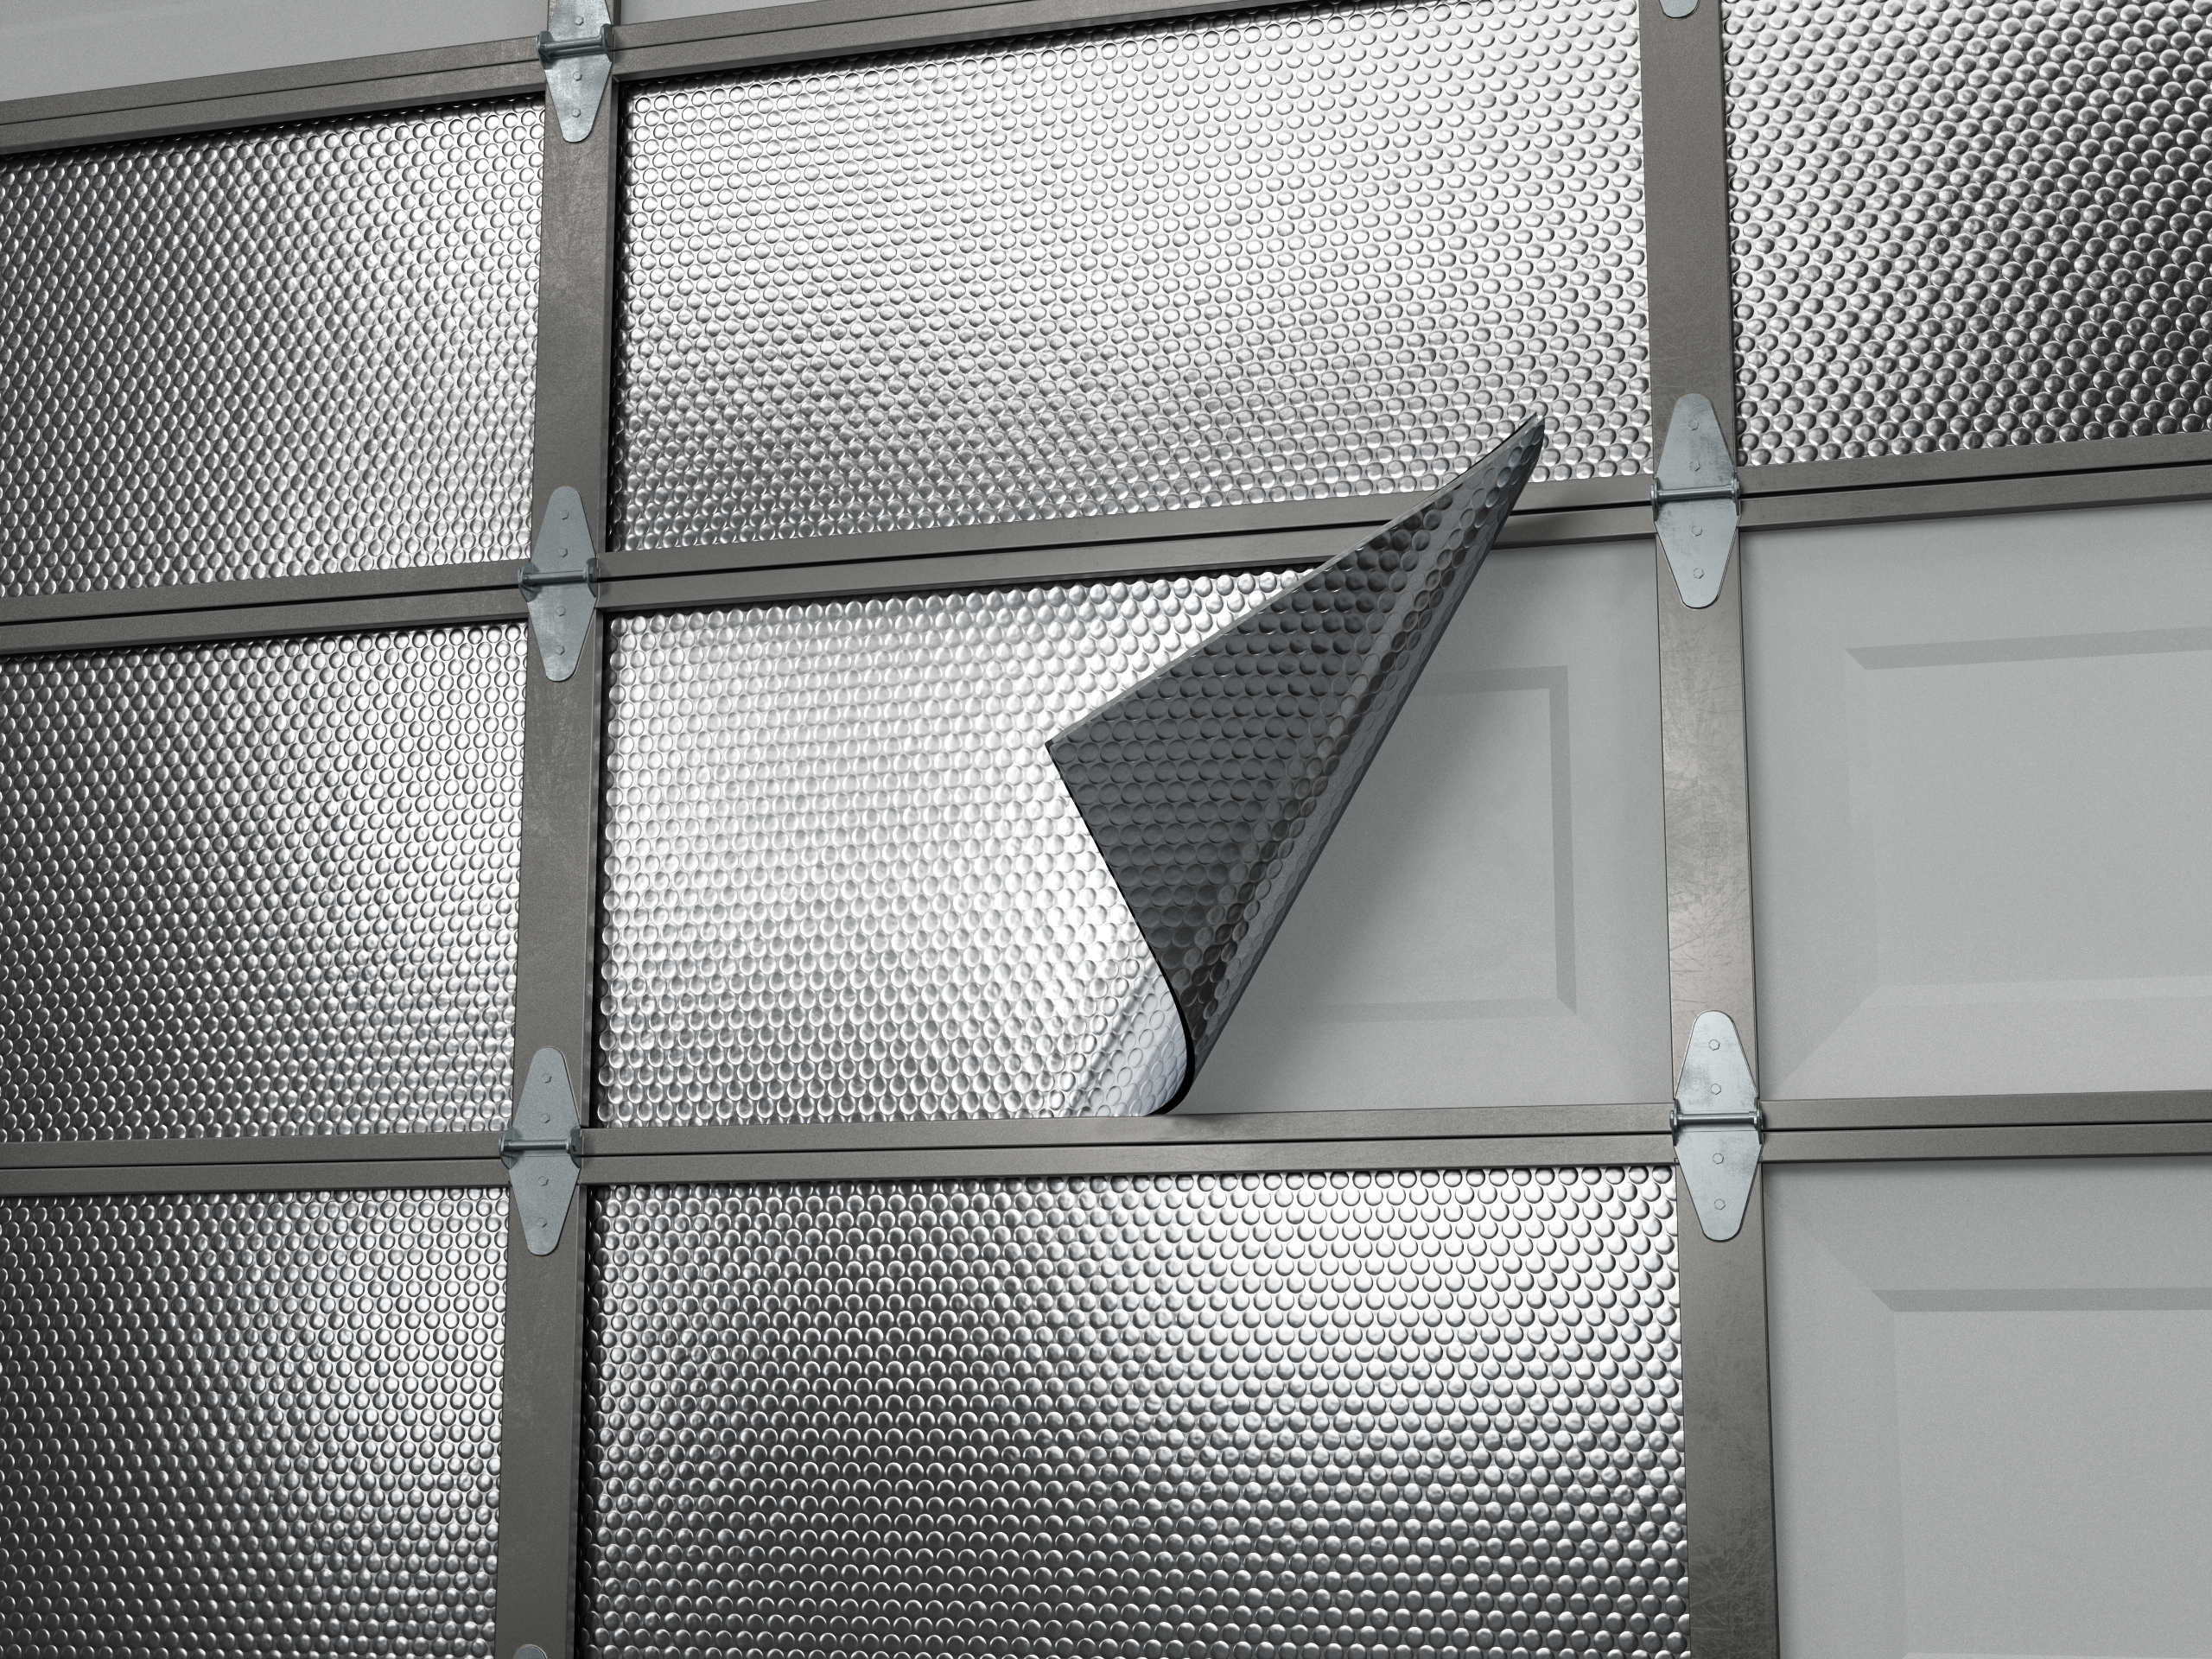
Install Reflectix® to a garage door in order to block 96% of the radiant energy that ordinarily would be retransmitted to the garage interior. The garage door is the primary contributor to hot garage temperatures in the summer (specifically west and south facing doors). The product is very easy to handle and installs very cleanly.
Recommended Products
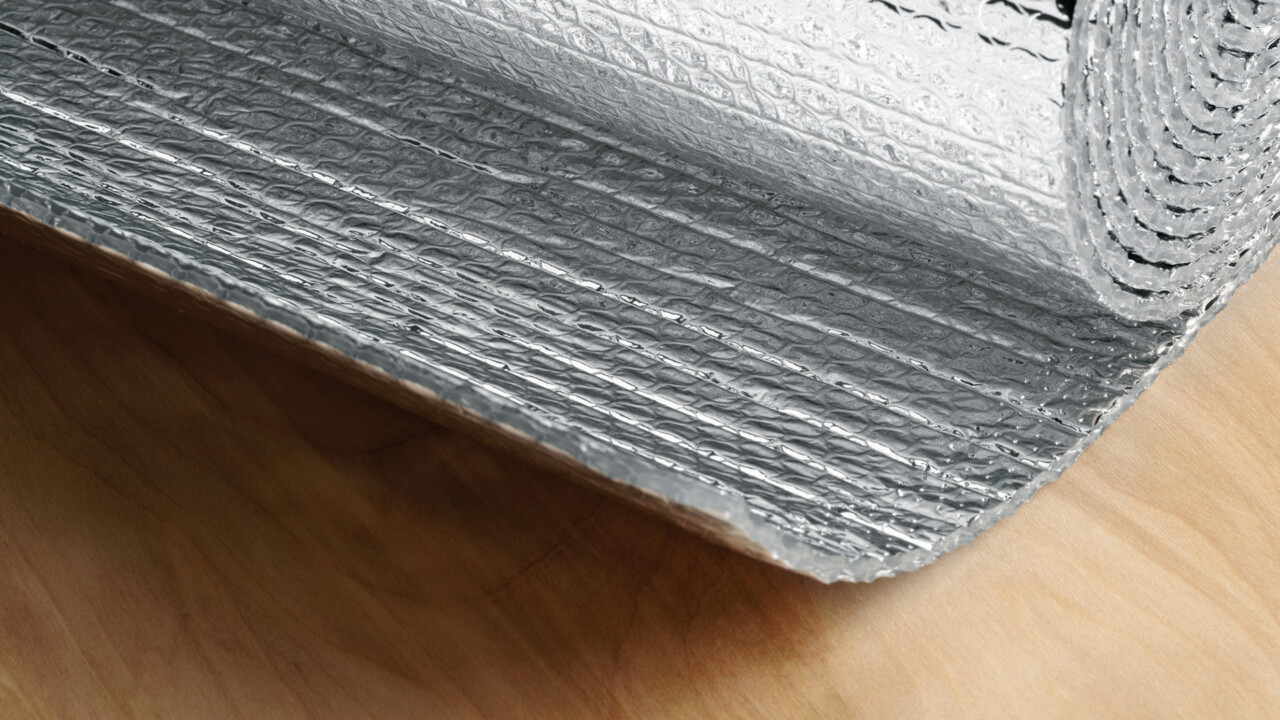
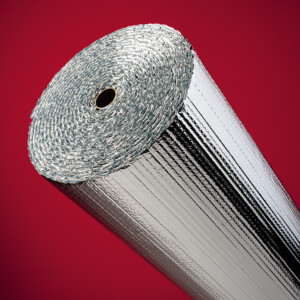
Double Reflective Insulation
Reflective/Bubble/Bubble/Reflective – Roll
- BP24025 (24” x 25’)
- BP48025 (48” x 25’)
Benefits
- R-3
- Radiant barrier – Blocks 96% of radiant heat transfer
- Easy to install
- Very clean, finished look
- No fibers or dust created by product
Installation Instructions
Installation Instruction pdf: DIY Garage Door Revised 012021
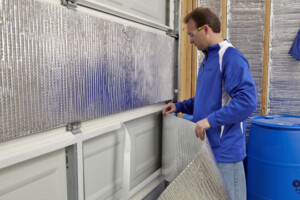
- Measure the door panels of the garage.
- Simply cut the Reflectix® Reflective/Bubble/Bubble/Reflective product to this dimension.
- Attach the product to the door panels utilizing an acrylic adhesive tape, double sided tape, spray adhesive, screws or staples.
Installation Video
Important
Review These Important Safety Guidelines Prior to Installation:
- ALWAYS check local building codes before installing Reflectix®.
- ALWAYS check the area you are insulating and make any needed repairs. Any worn wiring should be replaced before you begin installing Reflectix®.
- ALWAYS make sure work areas are well ventilated and well lighted.
- ALWAYS use eye protection when operating a staple gun.
- ALWAYS use caution and common sense when using a staple gun. Be aware of electrical wiring locations. Stapling into a wire can cause severe shock or death. NEVER staple into electrical wiring.
- ALWAYS be careful when working with large pieces of Reflectix® on windy days.
- When installing Reflectix® on bright sunny days, it is best to wear sun glasses.
- Do not work in areas such as attics when temperatures are too hot.
- Please Note: The intention of these Installation Instructions and 3-D renderings are for the sole purpose of illustrating the correct location and relative position of the Reflectix® products in specific building assemblies. The correct construction methods and techniques are the responsibility of the installer or contractor. The methods outlined are recommendations on location of the Reflectix® products as a guideline. There are no claims on the part of Reflectix, Inc. that these building assemblies are finite standards or meet building code requirements (as they can vary by region).
Testing and Certification
Reflectix® products are thoroughly tested at either nationally approved, independent laboratories or leading universities. Tests are performed to current American Society of Testing and Materials (ASTM) standards when a standard exists. To obtain a copy of our Product Testing Specifications, please refer to the “Additional Resources” tab. The documents are also available by e-mail at customerservice@reflectixinc.com or call (800) 879-3645.
Add'l Resources / Literature
Photos
Pictured: 1. Double Reflective Insulation, 2. Double Sided Tape Installation, 3. Attaching Reflectix to Double Sided Tape, 4. Finished Garage Door


